DIY Christmas Ornaments You Can Make at Home
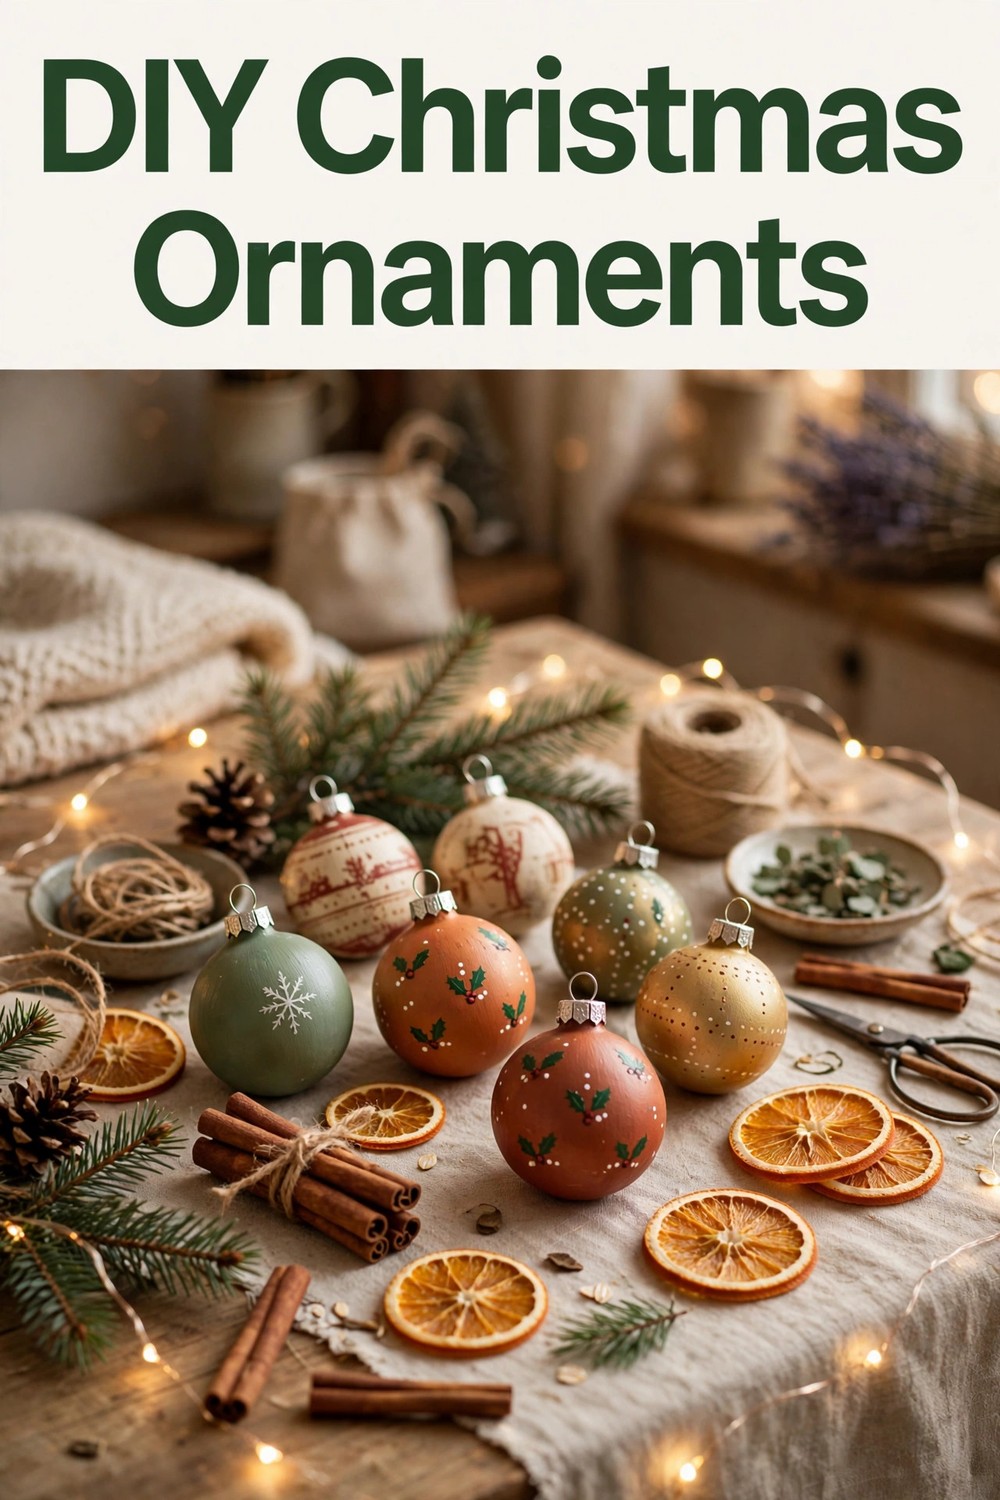
Store-bought ornaments are pretty, but handmade ones carry memories. Years from now, you will still remember the afternoon you made them — the kitchen smelling of cinnamon, the table covered in glitter, someone laughing at a lopsided star. These six ornaments are easy, affordable, and genuinely beautiful on the tree. Most use things you already have at home, and all of them are fun to make with kids.
1. Dried Orange Slices
Slice oranges about a quarter inch thick, pat them dry, and lay them on a baking sheet lined with parchment paper. Bake at 200°F (95°C) for two to three hours, flipping halfway, until they are dry and slightly translucent. Thread a piece of twine through a small hole near the edge, and hang. They glow beautifully when the tree lights shine through them, and they smell faintly of citrus all season. Make a few extra to tie onto wrapped gifts.
2. Cinnamon Stick Bundles
Take three cinnamon sticks, bundle them with twine, and tie a small sprig of evergreen and a tiny dried orange slice to the front. That is the whole project, and it takes about two minutes per ornament. Hang them on the tree or lay them on the mantel, where they give off a gentle spicy scent for weeks. They also make wonderful gift tags: write a name on a small paper tag and tie it to the bundle.
3. Salt Dough Ornaments
Mix two cups of flour, one cup of salt, and one cup of water into a soft dough. Roll it out to about a quarter inch thick and cut shapes with cookie cutters — stars, trees, hearts, and gingerbread people all work well. Poke a small hole near the top of each shape with a straw, then bake at 200°F for two to three hours until hard. Once cool, paint them with craft paint and seal with a coat of clear varnish or mod podge. Kids love stamping handprints into the dough before baking; those ornaments become keepsakes you will treasure for years.
4. Painted Pinecones
Collect pinecones from the yard or buy a bag from a craft store. Brush the tips of the scales with white paint for a snowy look, or go bold with gold or deep red. When the paint is dry, glue a loop of ribbon or twine to the base and hang. A light dusting of glitter while the paint is still wet adds sparkle, but keep it subtle — a little goes a long way. Pinecone ornaments look especially good on a tree with a natural, woodland theme.
5. Twine-Wrapped Baubles
Take a plain foam or old plastic bauble and wrap it tightly with twine, gluing the end down as you go. Cover the whole ball, or leave a stripe bare and paint that stripe gold. Add a small wooden bead or a sprig of greenery at the top where the string attaches. These rustic ornaments are almost impossible to break, which makes them perfect for homes with small children or curious pets, and they look far more expensive than they cost to make.
6. Photo Ornaments
Print a favorite photo small enough to fit inside a clear fillable bauble, roll it gently, and slip it inside with a pinch of fake snow or a few tiny beads. Or glue a photo onto a cardboard star, decorate the edges with ribbon, and hang it with pride. Photo ornaments turn a tree into a family story: each year, as you unwrap them, you remember the moments they hold. They also make thoughtful gifts for grandparents, who will hang them front and center.
Tips for a Happy Crafting Afternoon
Cover the table with newspaper or an old sheet before you start, and put on some Christmas music. Let kids choose their own colors and shapes — a wonky ornament made with joy beats a perfect one made under pressure. Allow everything to dry fully before hanging, and store handmade ornaments in tissue paper between layers of a sturdy box. With a little time and a few simple supplies, your tree will be full of decorations that no store could ever sell: yours.